It’s about time for an update on this bathroom renovation! Even though destruction has already commenced(!!!), all I have to show you today is Part 2 of this vanity saga. If you didn’t believe it was a saga after the beast of a Part 1, you will by the end of this post! And there’s even a Part 3 to this story
When we left of last time, the vanity was prepped for plumbing, the shelves were installed, & it was ready for paint. I left a little teaser that it wouldn’t be mint green like I originally planned. I just thought that an industrial metal cabinet might look odd in a feminine, pastel shade. I still want to accent with mint, especially to tie in the greenish glass sink, but I think that a better fit for the metal cabinet would be…navy blue! It’s more neutral, and still falls into the vintage/industrial theme. Here’s the updated design plan –

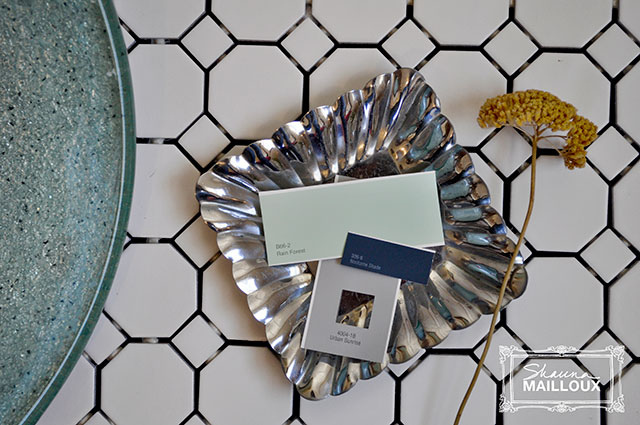
So, navy blue it is!
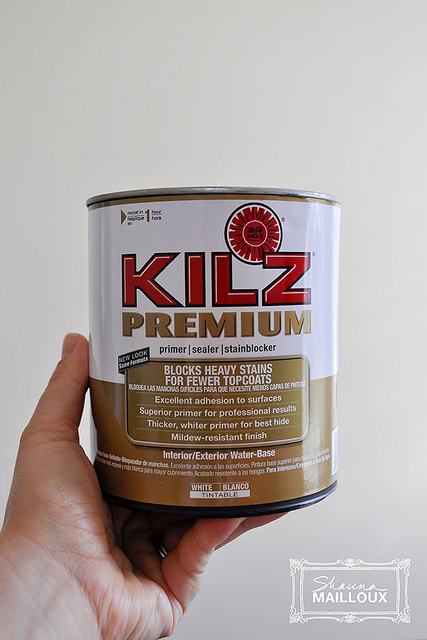
I stated off with 2 coats of Kilz primer because it works on all surfaces and the finish is mildew resistant. Sounds perfect for a bathroom vanity that has wood, metal, & laminate!
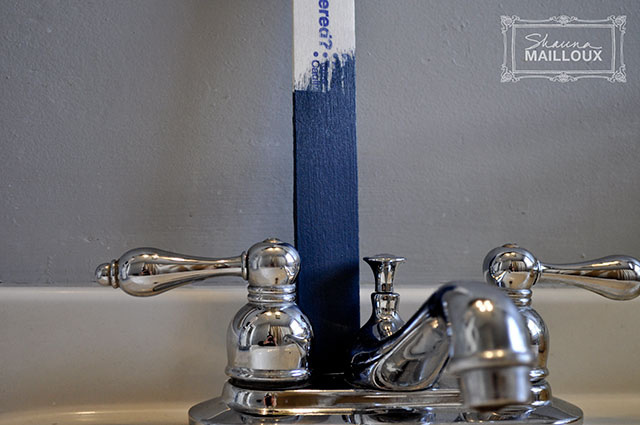
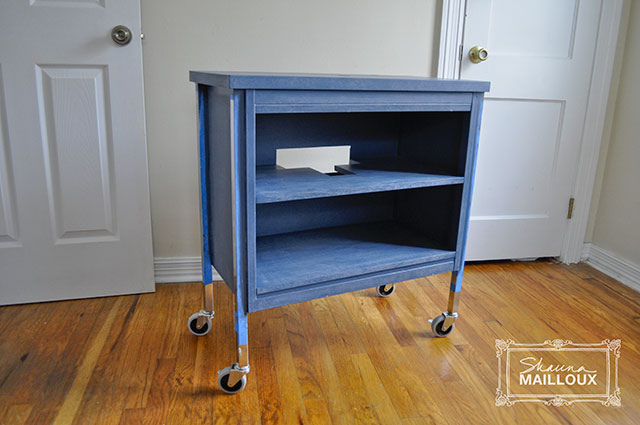
After 3 coats of navy paint (Valspar Nocturne Shade), she was looking pretty good –
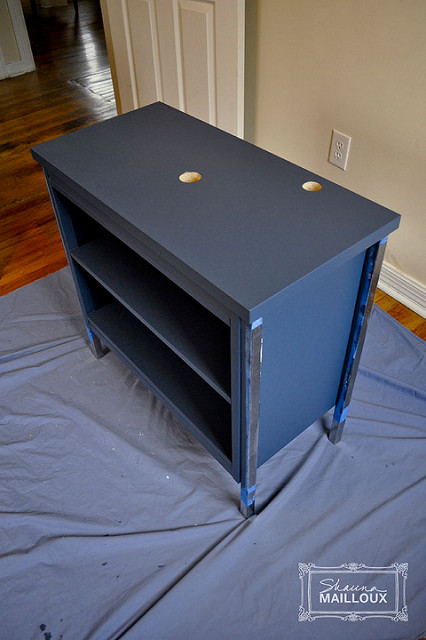
I was a little worried that the color didn’t end up looking quite navy. More like…denim? But the room I was painting in gets much more light than the bathroom does, and in the bathroom I thought the color looked fine.
Crisis adverted?
Now, I wish I could say that “all” I did was apply a protective top coat and then moved on to the next step. But that’s just not how it went down. And you know I’m going to tell you all about it. I started off with Minwax Polycrylic –
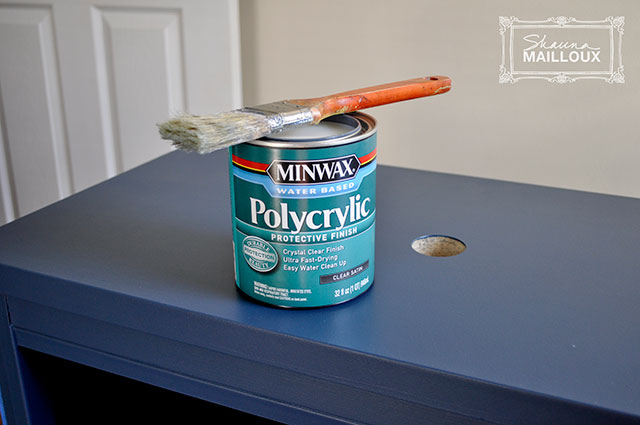
A protective, non-yellowing finish (unlike polyurethane), that’s safe on painted surfaces, plus you can apply it with a roller to avoid brush strokes…that all sounds good, right?
Wrong.
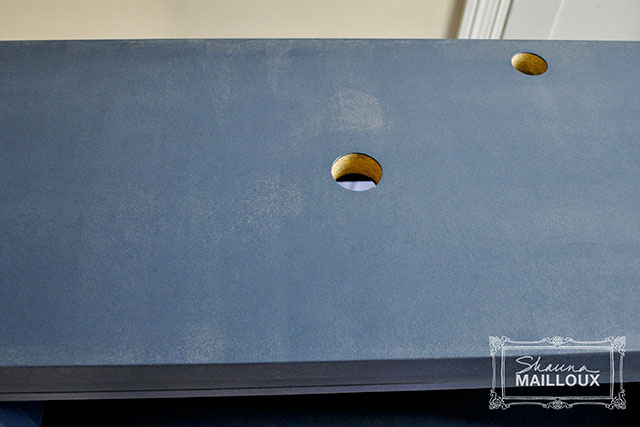
I don’t know if I didn’t stir it long enough, or if I didn’t use the right kind of roller, or if I applied it to thick/thin…but somehow I ended up with a vanity that looked like I sponge-painted it with milk.
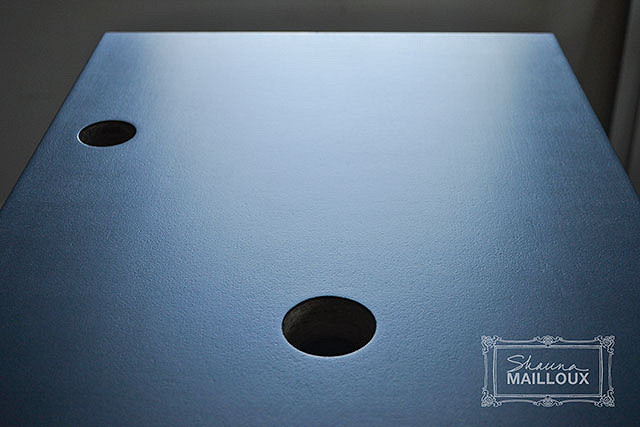
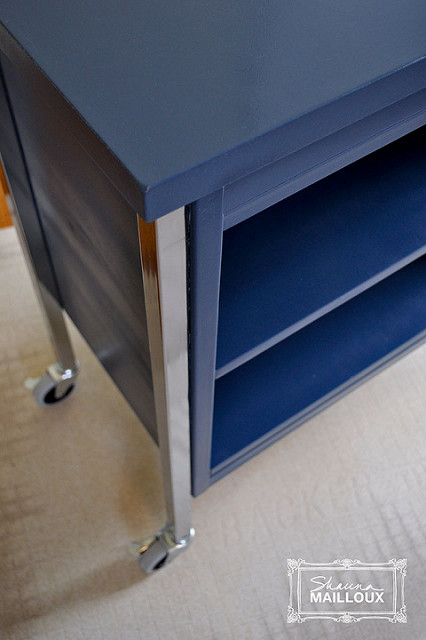
So I sanded it down to repaint it blue and then redo the topcoat. Before I pulled the blue paint back out, I figured it would be a good time to attach the casters.
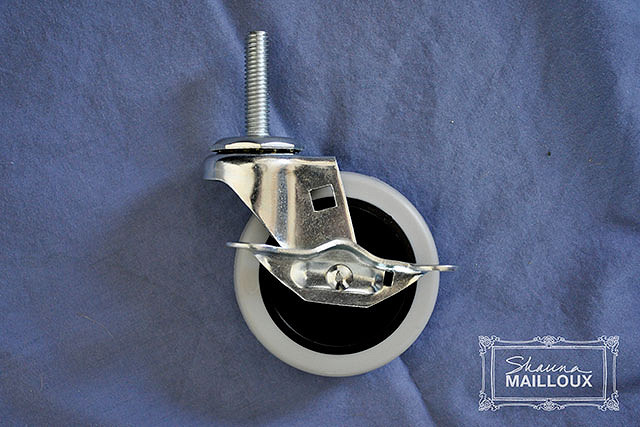
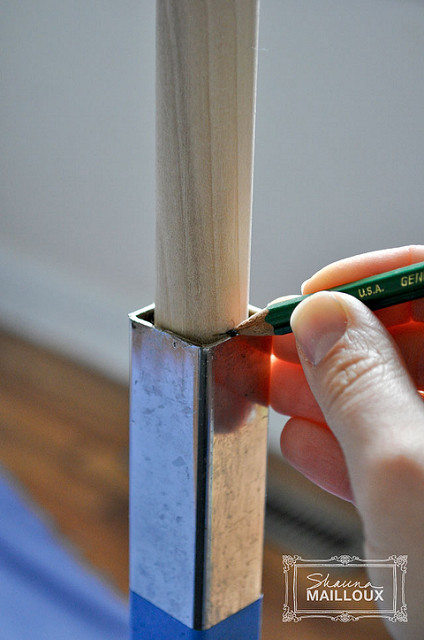
Normally you would just screw the casters into your piece of furniture, but this cabinet has hollow legs. So I found some round dowel rods that fit perfectly inside the square legs and cut them down to fit right inside.
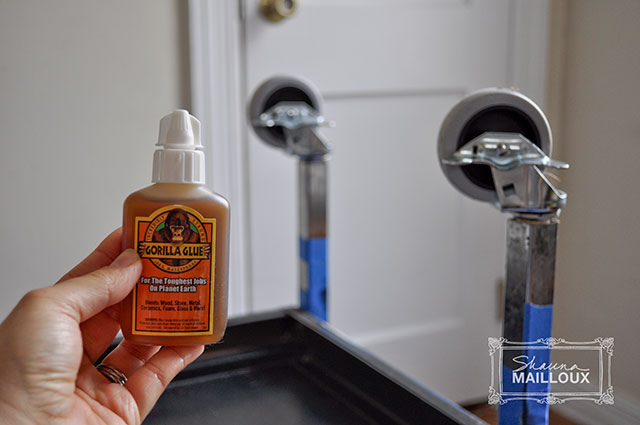
Then I was able to screw the casters into the dowels, which slid into the legs, and secured it all with some Gorilla Glue.
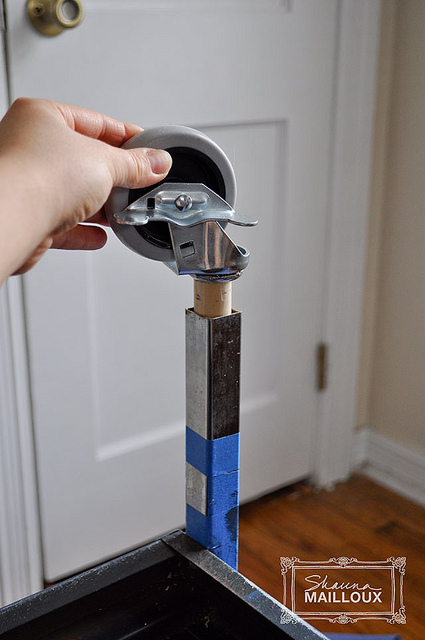
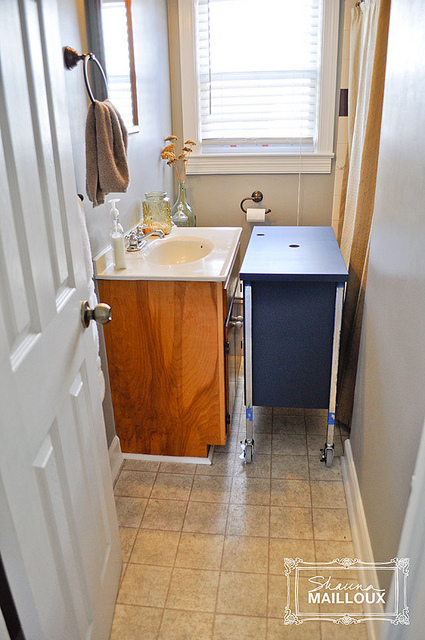
Success! And those extra 3 inches from the casters brought it up to exactly the height of the old vanity –
With that diversion successfully completed, I was ready to tackle the painting again. After 2 more coats of navy, I decided to brush on the polycrylic.
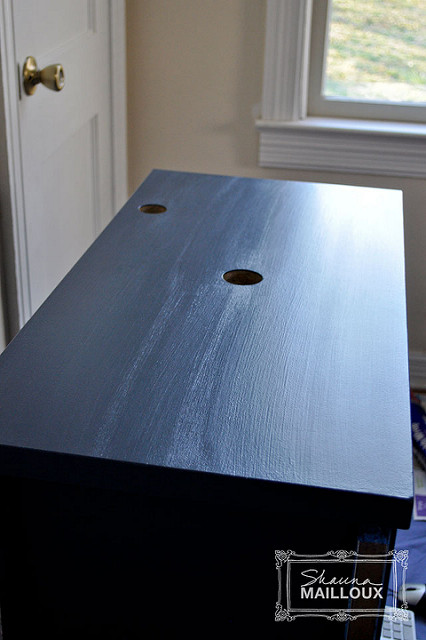
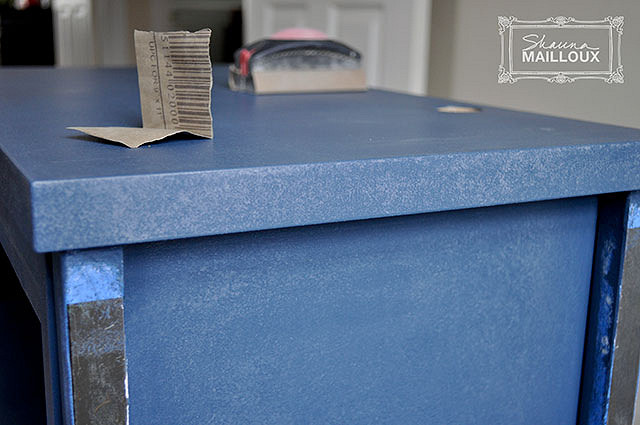
Another failure. At least this time it dried clear, so I left it for a few days to decide if I could live with it.
But I couldn’t. I just couldn’t stand how obvious those brush strokes were. It was just one more thing to make the vanity look like it was made by an amateur…and we don’t need any help with that! I was too mad to sand it off right away, so I gave myself a second diversion – fixing up the vessel sink.
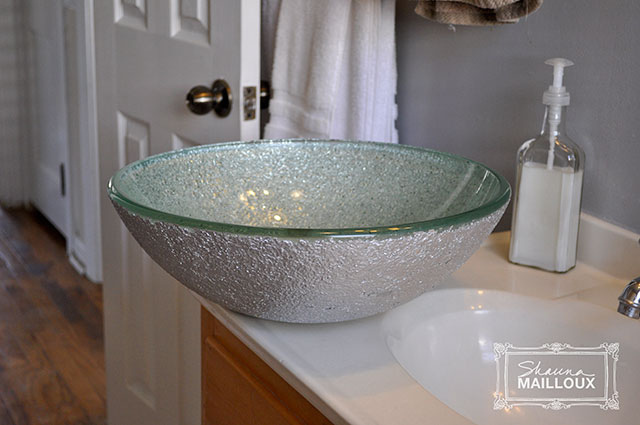
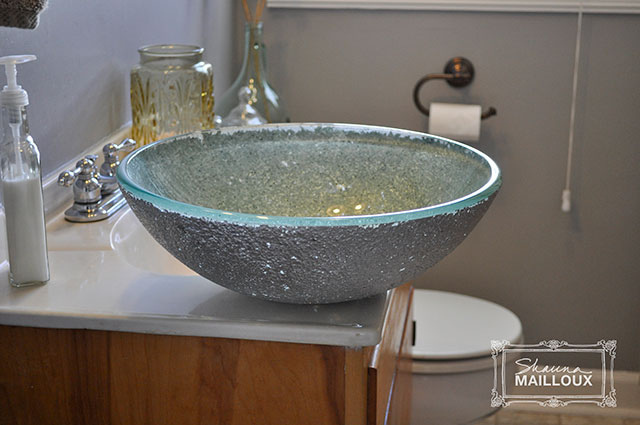
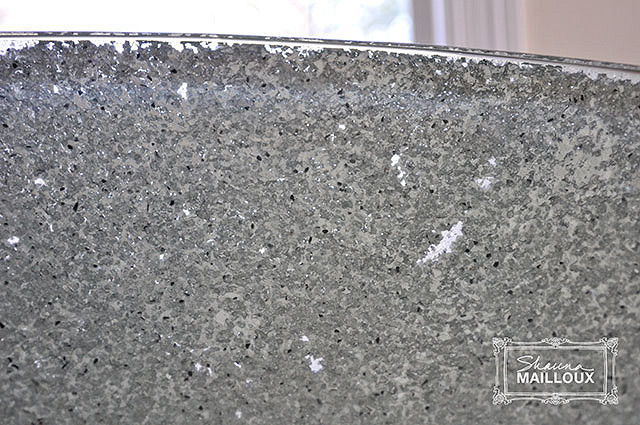
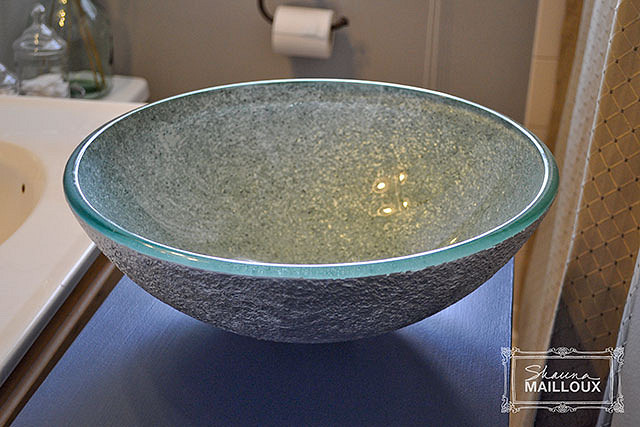
Our glass vessel sink from HomeGoods looked awesome in the store with all the bright lights (and I was on a bargain-shopper’s high once I spotted the $30 price tag). I didn’t even notice until I got home that the surface on the bottom was chipping away. At first I thought it was supposed to be like that to give the glass it’s speckled look. But once it was backlit, it was really obvious that something was not right. Guess that’s why I got it for $30!
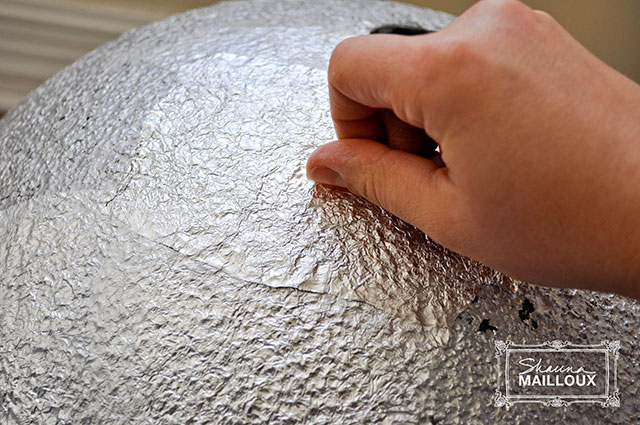
But that’s okay – it’s nothing that some aluminum foil and Mod Podge can’t fix…right?
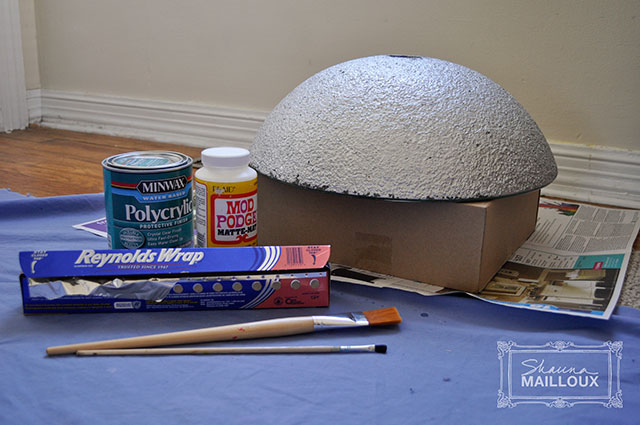
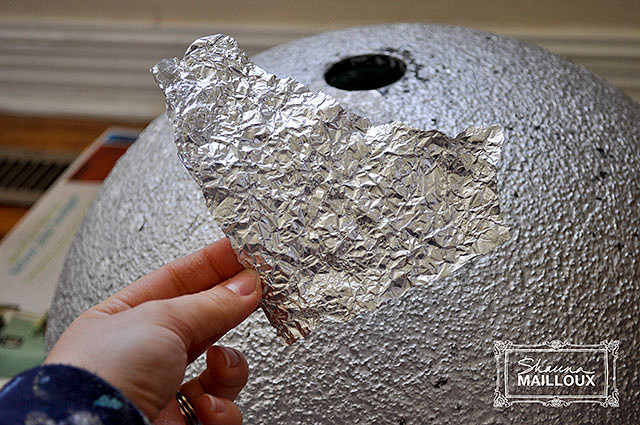
Decoupaging your sink with aluminum foil might not sound like the best idea…but it worked! I just used Mod Podge to glue crumpled-up pieces of foil to the bottom of the sink, using my thumb nail to press it into the textured surface.
Once it was completely covered, I brushed the entire bottom surface with a coat of polycrylic. Might as well use it for something.
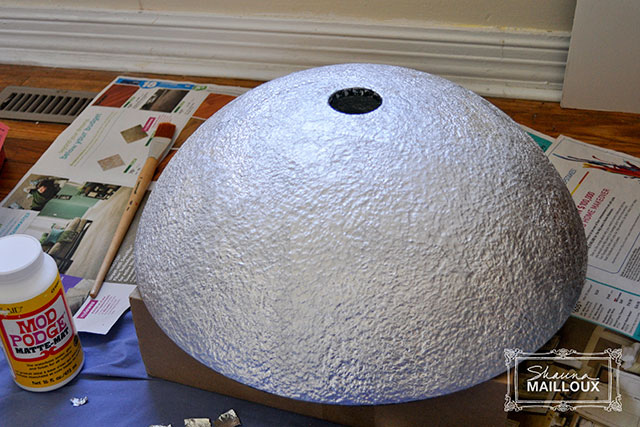
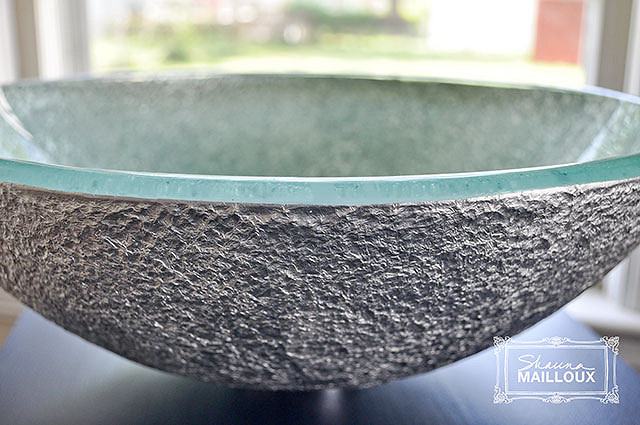
Thankfully it turned out great! No chips or peeling, it was completely sealed, and it passed the backlight test, so I could cross that problem off the growing to-do list.
Enough stalling…I had to get back to painting the vanity.
After sanding off the polycrylic for a second time and repainting it for a third time, it was finally had it looking smooth again.
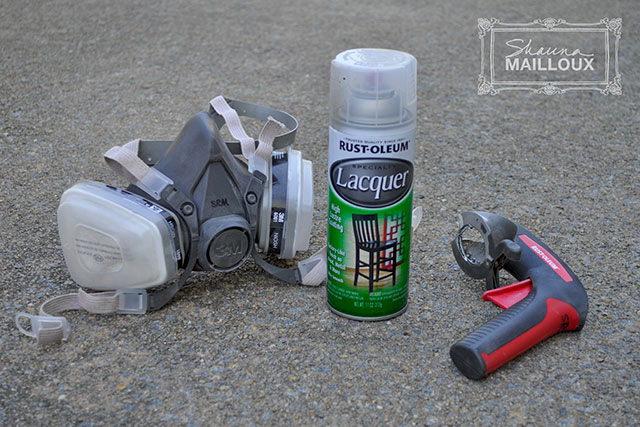
Just to emphasize this – at this point, the vanity was totaling 2 coats of primer, 7 coats of paint, 2 coats of polycrylic, and 3 sandings. I was desperate at this point. Which is why I turned to spray lacquer. You may remember me mentioning early how awful spray lacquer is after I ruined this lamp:
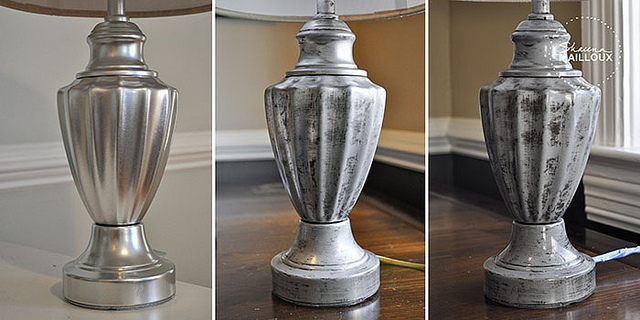
Even after I ruined a handful of precious pastel drawings:
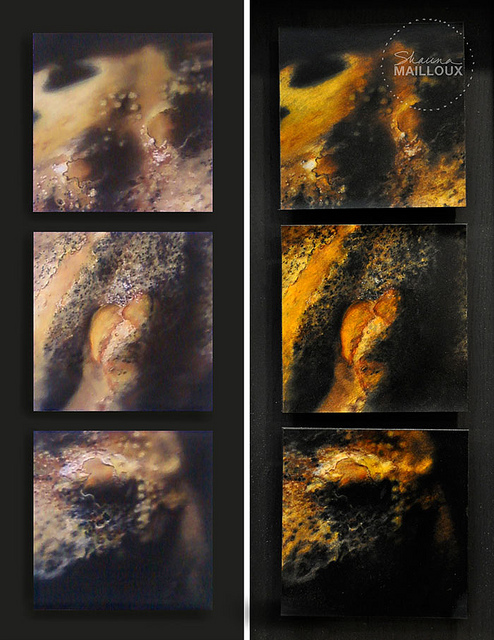
So desperation is the only excuse I can think of for ever picking up a can again. That, and the fact that it was free, since I still had 2 cans leftover.
I tested it out on a scrap piece and was able to call it good enough, so I wheeled the vanity out to the great outdoors to spray away. Leo saved me from this killer snake lurking a few feet away.

Only the 10th one I’ve found this month. Anyways, FINALLY, finally, the painting was finished…

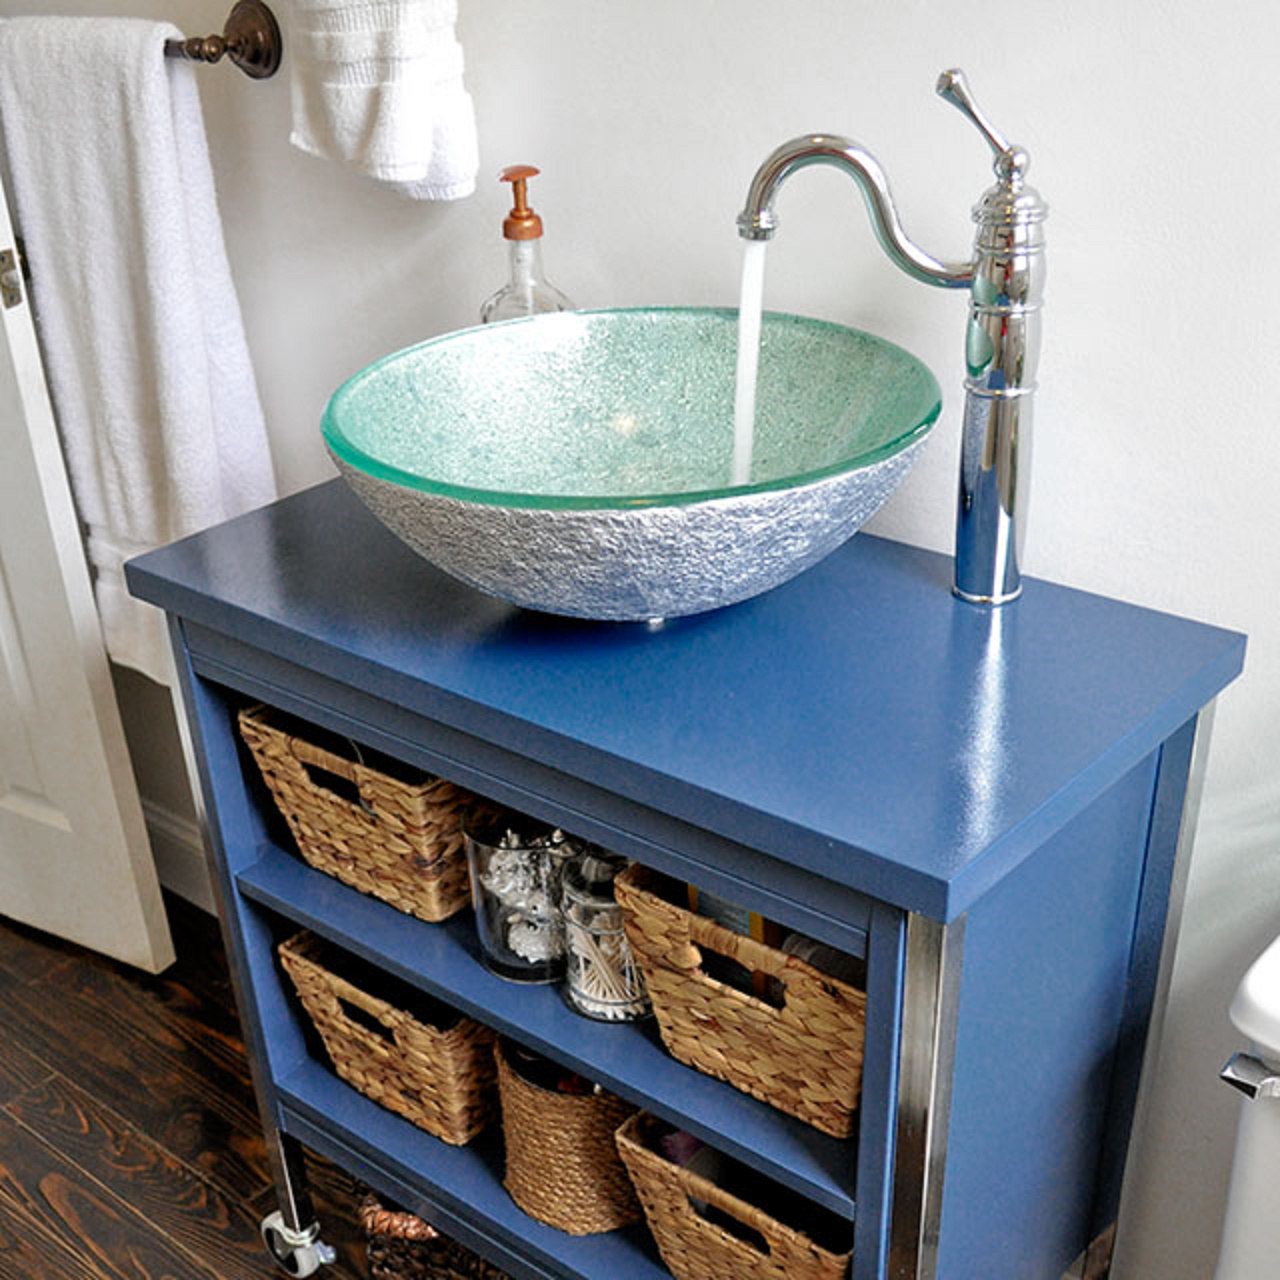
It’s a lot shinier in the end than I originally wanted, since the lacquer that I had was gloss. But there are no brush strokes to be seen, nothing reminiscent of milk sponge painting, and it seems to repel water really well, so I guess this means that spray lacquer & I have made peace with each other. (Unfortunately for me, I discovered tonight that you can buy spray polycrylic in 3 different sheens…which is what I should’ve done from the beginning. Womp womp.) But anyways, here’s a sneak peak of how it looks with the sink & faucet installed.
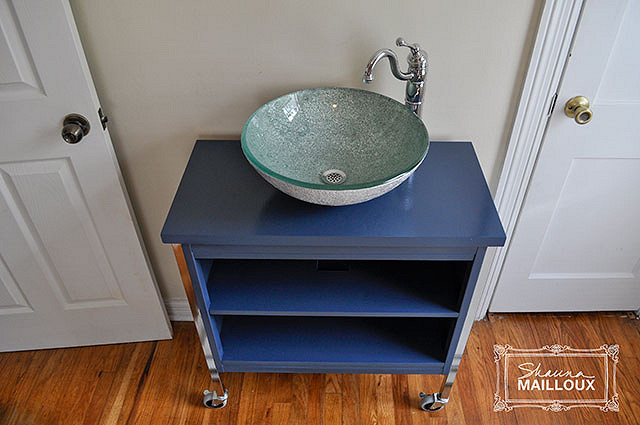
I’m going to be building some custom storage crates for the shelves as soon as I have the time. I’m excited to show you the progress on the floor…and how it has changed the design plan again!
You may also like:
- Creating A Designer Bathroom On A Limited Budget
- 22 Cute Small Kitchen Designs And Decorations
- HOW TO DESIGN A HOME WITH SOUL
- Bathroom Interior Design Ideas and Bathroom Interior Tile
- 20 Creative College Apartment Decor Ideas
- 17 Amazing bathroom tile designs
- 47 Amazing Outdoor Kitchen Designs and Ideas
- Amazing Blinds: The Beauty Behind the Function
- 24 Inspiring Small Bathroom Designs
- 25 Simple Interior Designer Tips To Renovate Your Home On…
- Contemporary or Modern? The Beginner’s Guide to Interior Design Styles
- 10 Unusual apartment – one of the interior design trends
- Great Stairs Designs For Luxury House That Will Inspire You
- 17 mirrors ideas for all house