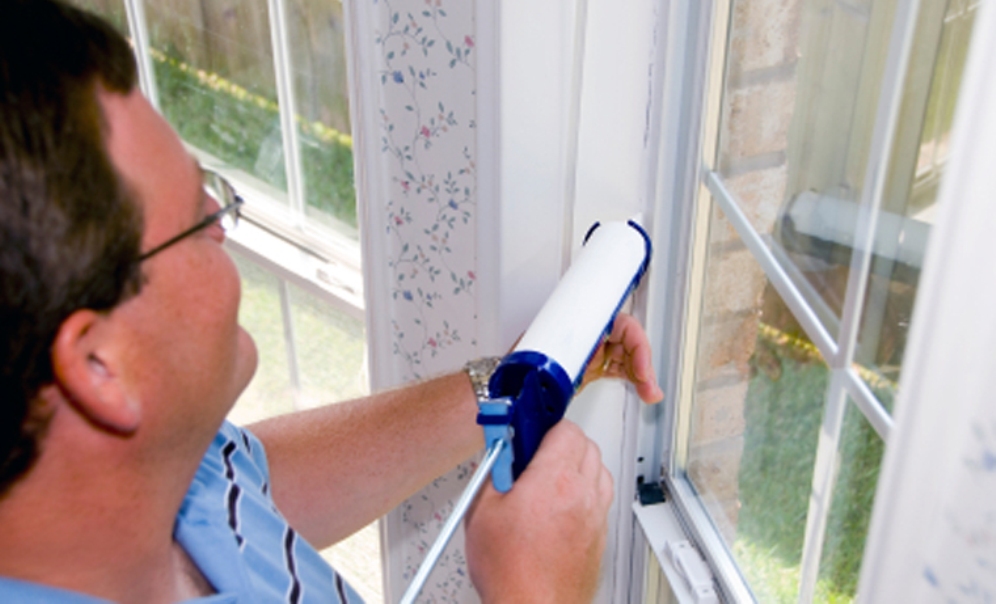
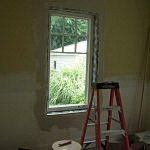
Don’t hire a handyman. Save money and follow HGTV Magazine’s DIY steps for weather-stripping windows.
Illustration: Brown Bird Design;
Window: Marko Metzinger
Before you start, get to know your window. (See figure at left for double-hung windows)
See more: Roof Windows
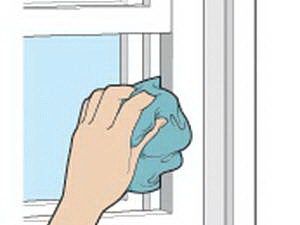
Step 1: Clean Inside the Window Frame
Using a rag dampened with water and a little soap, wipe inside the window jamb and along the bottom of the lower sash and the top of the upper sash. Let dry.
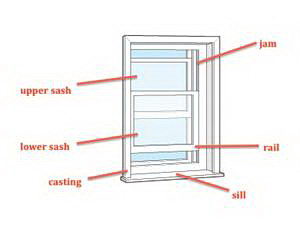
Brown Bird Design
Tip from a pro
“I advise avoiding foam weather stripping. Yes, it’s cheap, but it’ll only last a year or two, compared with three or more years for vinyl or silicone.” —Chip Wade, host of Elbow Room
Brown Bird Design
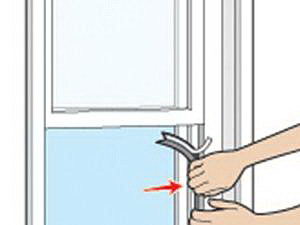
Step 2: Seal the Sides
Cut four strips of self-stick vinyl V-channel an inch longer than the height of the lower sash. Raise the lower sash. Apply a strip inside the jamb, leaving the backing on the top inch. Feed that extra inch up under the side of the sash. Repeat for the other side. Close the window, remove the extra backing, and press the strips in place. Repeat for the upper sash, but feed the extra inch of V-channel down.
Brown Bird Design
Step 3: Seal the Top and Bottom
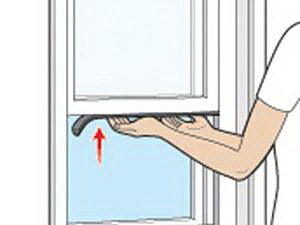
Cut two strips of self-stick vinyl or silicone gasket-style weather stripping the same width as the sash. Raise the lower sash, and apply one strip along its bottom. Close the window. Slide down the upper sash, and apply the other strip along its top. Close the window.
Brown Bird Design
Source: hgtv.com
You may also like:
- 24 Interesting Dining Room Ceiling Design Ideas
- 10 Great Office Interior Design Trends And Themes
- Galley Kitchen Ideas – 15 fresh ideas
- Wasted Outdoor Space Given New Life
- Welcoming, Earthy Kitchen
- Soaking Tub Inspires Zen Bathroom
- Spacious Contemporary Kitchens
- Traditionally Spanish Kitchen
- A Century-Old Brooklyn Home Remodel
- Cook’s Dream Kitchen
