Some basics

Here are some of the basics. Of course the first thing you need to do is wash down the walls of your house. A pressure washer can be rented at almost any rental yard and is the best way to do that. Now go around with a scraper and remove all loose paint and chipped areas. You don’t have to scrape the entire wall, but any areas where the surface is not flat can cause you problems as you paint your house.
Plan and calculate
Next, figure out your square footage so you can determine the amount of paint you will need to buy. Buy your paint in 5-gallon pails, rather than gallons to save more money.
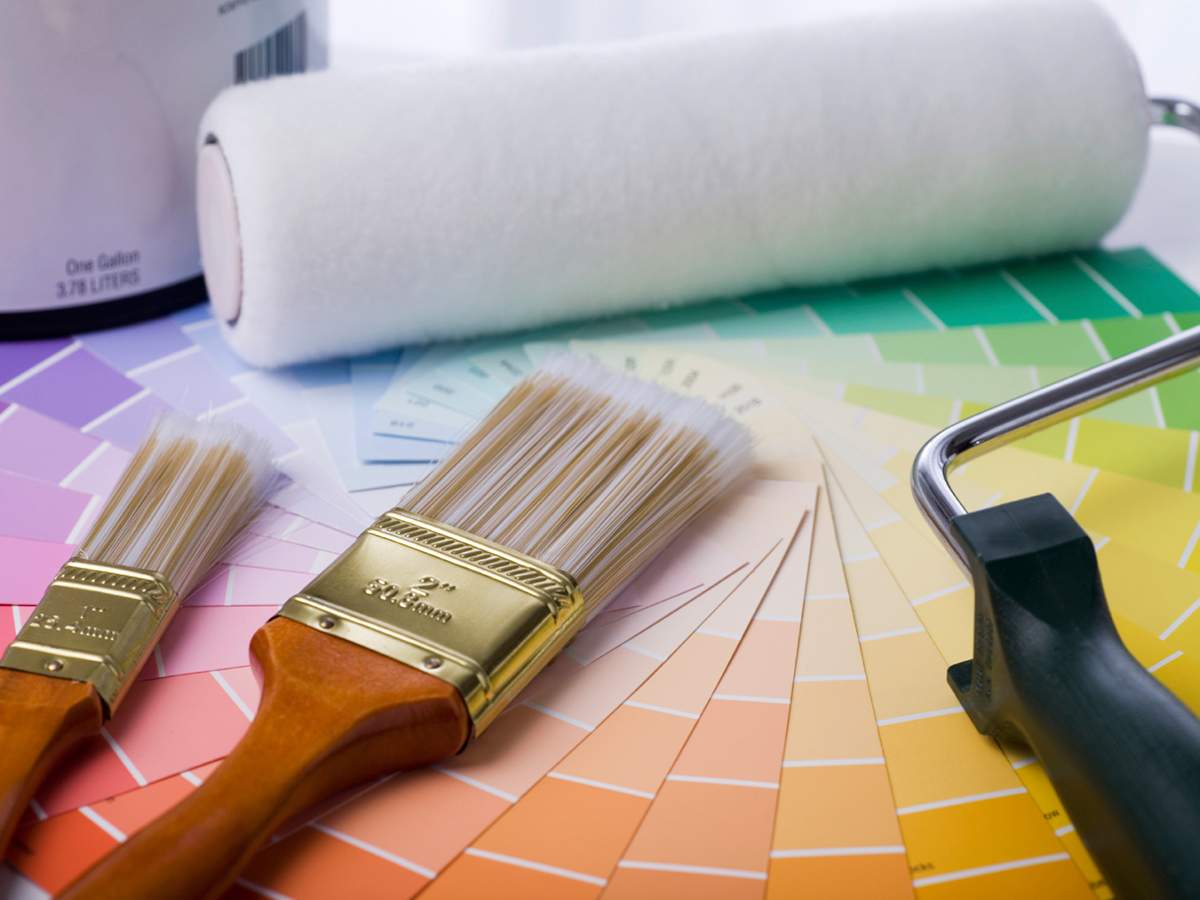
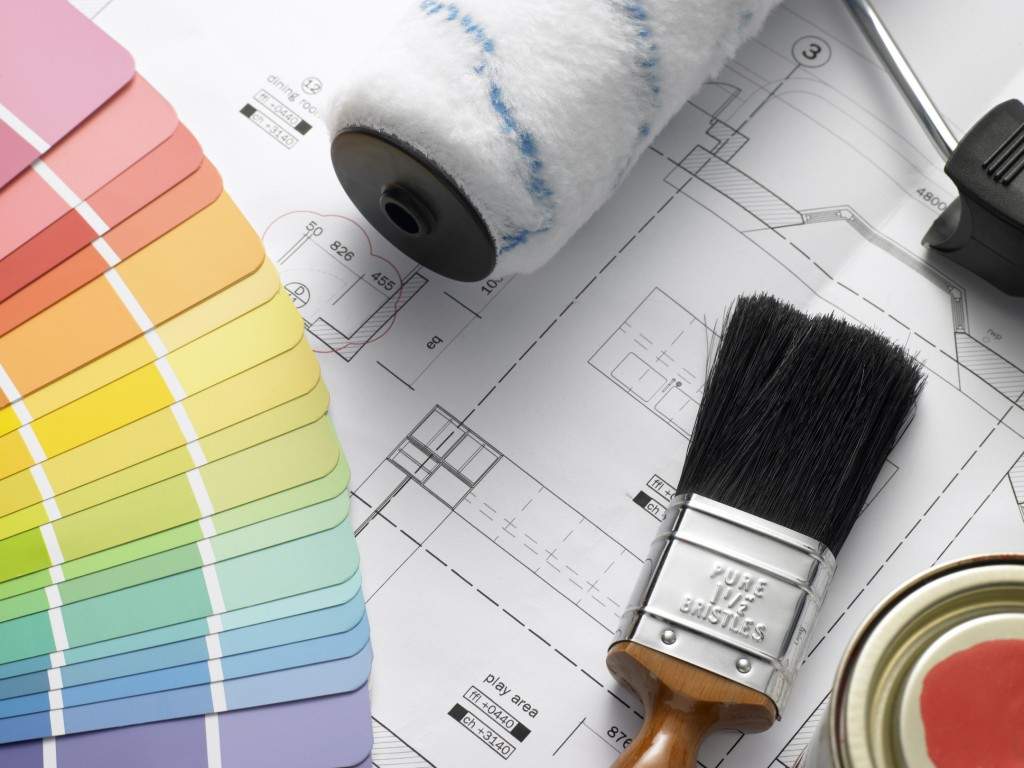
Talk to the helper at your local paint store and tell him about your project. They can help you decide on how many brushes and rollers and other items you will need. You can buy natural or synthetic bristles for oil based paints, but only use synthetic bristles with latex paint. The same rule applies to rollers. Good rollers can run you around $7, but buy high-quality paintbrushes. A good brush for cutting in around edges will run you about $30.
Accessories
Make sure you purchased some painter’s tape. It’s blue tape that comes in different widths and is easy to remove without messing up your paint job. That brings us to preparation. Tape off all areas you don’t wish to get this color of paint on. If there are large areas to cover, make sure you pick up some rolls of plastic. You can tape the edges of the plastic down over whatever you need to cover.
Some Tips
- Don’t paint out of the paint cans. First reason is that leaving the paint can open will dry out the paint and make it difficult to apply. Another reason is that your brush or roller picks up dirt and foreign objects, which will end up in your paint and may even change the color as you go along.
- Do all of your cutting or trimming in before you paint the walls. Use a 4” brush and with a smooth stroke guide it around the edges where you taped off. Make sure you have plenty of paint on your brush. The biggest mistake people make is trying to stretch the paint too far. Keep drips cleaned up as you go with a small rag. Remember you will be rolling up to the edge of your cut, so don’t worry about that, just make sure you cover the edges well.
- Start on the edges of your walls and work your way toward the middle. Most people don’t do this and problems can result. If you start and new can of paint in the middle of the wall and there is any difference in the color at all, it will show up there more than it would on the edges. So with each new can of paint you open, start at the edges first.
- Dip your roller in water (for Latex) or solvent (for oil-based paint), before you start. Whether you use a pan or a 5-gallon bucket with a screen, make sure you roll it out a little to make sure it isn’t dripping. You don’t need to go all the way from the top to the bottom as you paint. Do what you can reach.
- Apply the paint in a Y or an N pattern, then apply paint in columns up and down smoothing out all the edges or ridges as you go. Again don’t try to stretch the paint out, make sure you have enough paint on your roller to give it a good coat. If you are applying more than one coat, make sure the first coat is completely dry before applying a new coat of paint.
- Corners are a difficult part to learn to paint. If you aren’t careful, this is where you will see paint drips later. Get as close to corners as you can, but don’t scrape the roller against the corner. That will cause drips. If you are unsure, have a paintbrush handy to smooth out drips. That is also a good idea overall. Keep a paintbrush ready for taking care of any drips or ridges you leave behind. Doing this as you go is much easier than trying to fix it after it’s dry or partially dry.
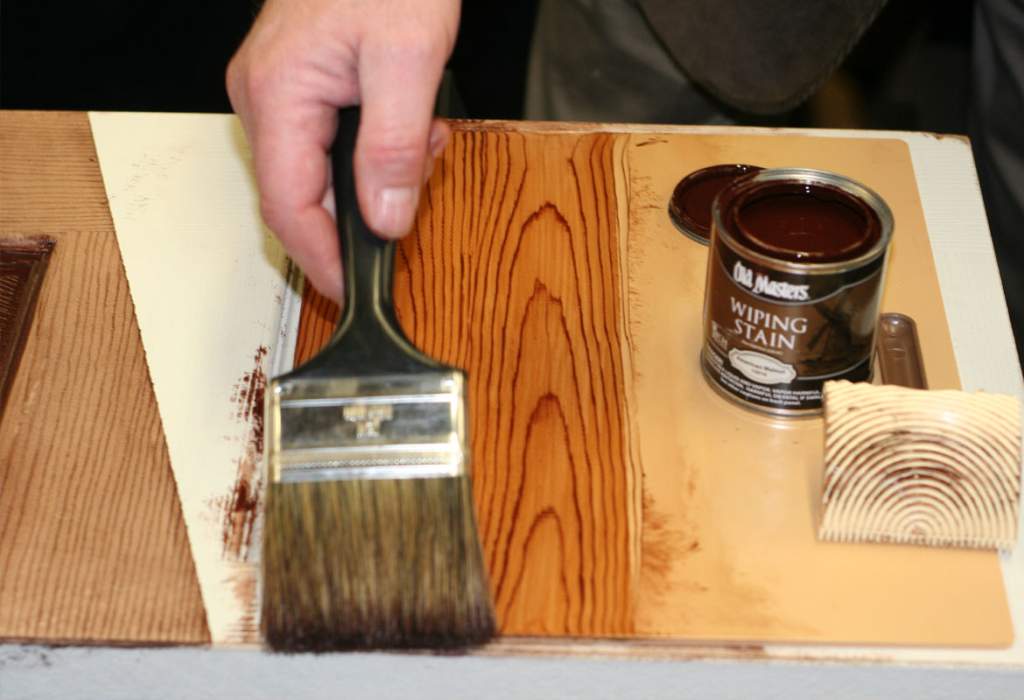
- Using tray liners for your paint trays will save you a lot of time at cleanup. Soak your brushes when done for awhile and they will also be easier to clean. For water based paint, soak in water and for oil based paint soak them in solvent.
I hope some of these tips have been helpful to you. Have confidence that you can do this job yourself. You will appreciate and enjoy it much more knowing that you or you and your family completed the job rather than hiring someone else to do it.
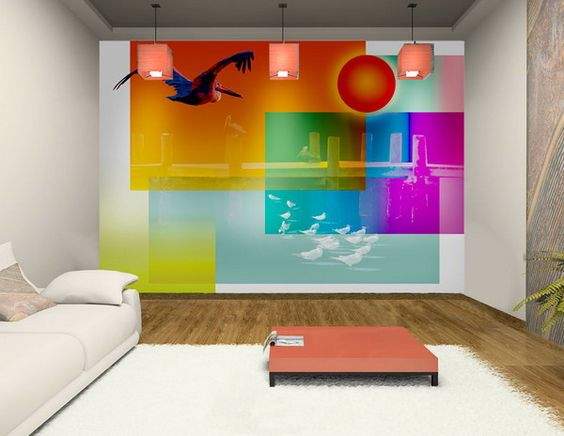
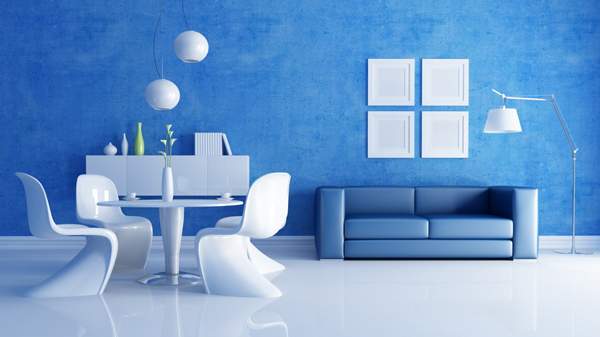
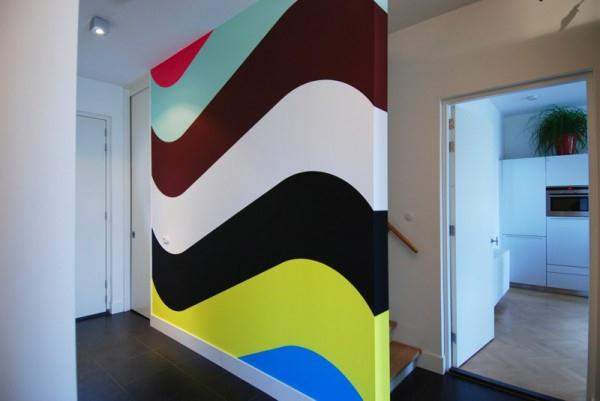
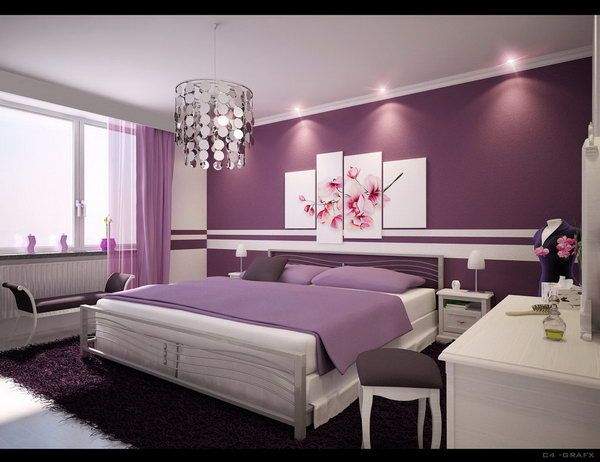
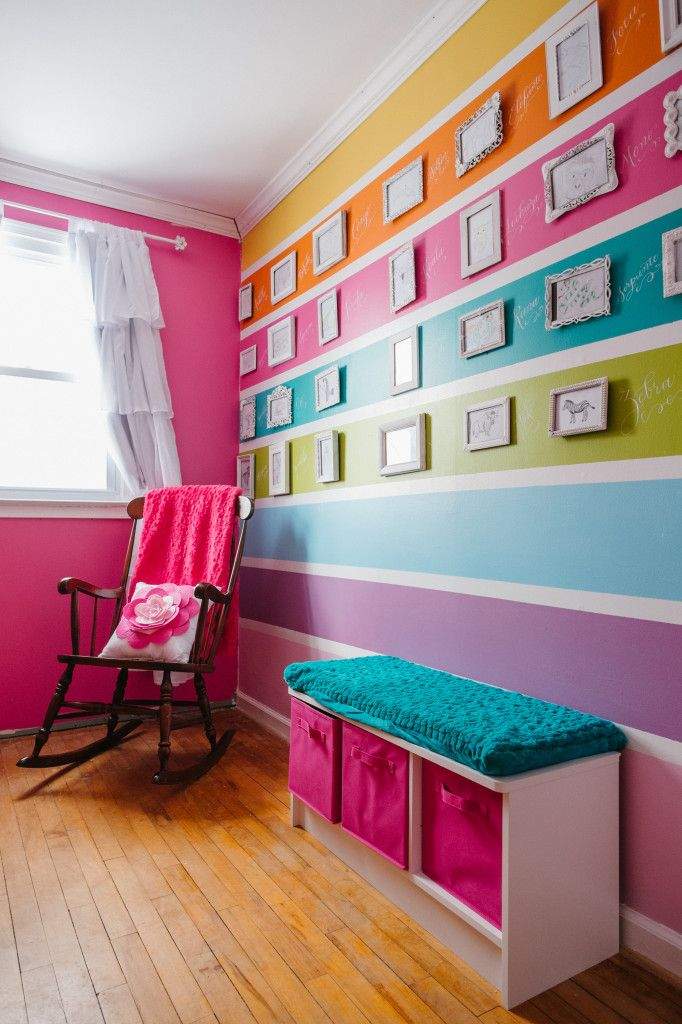
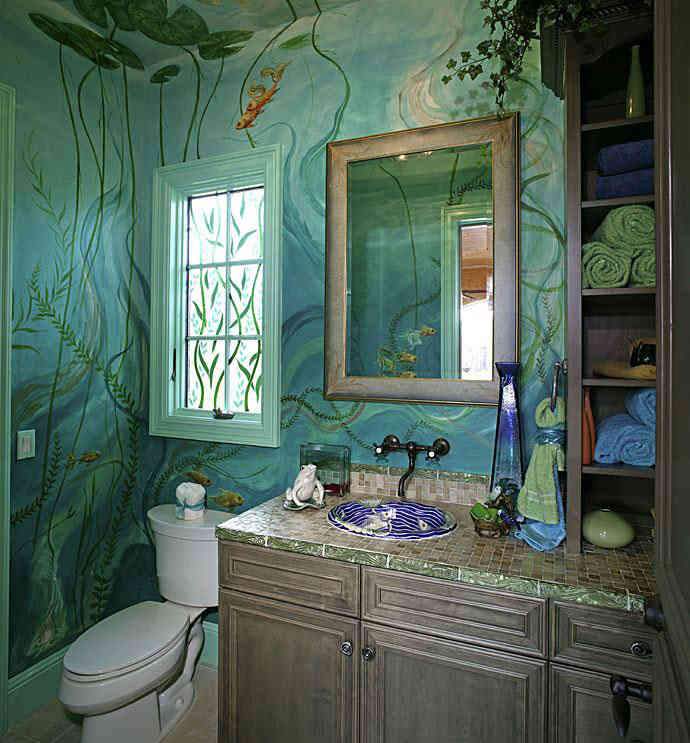
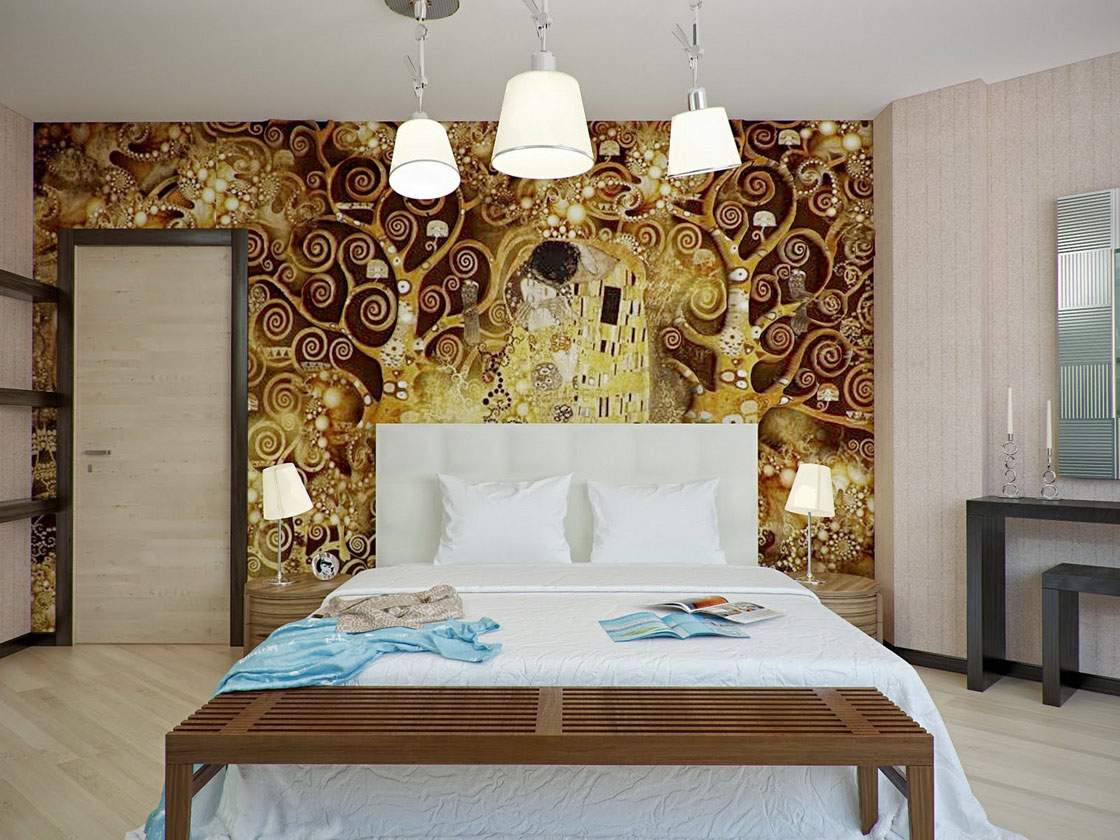
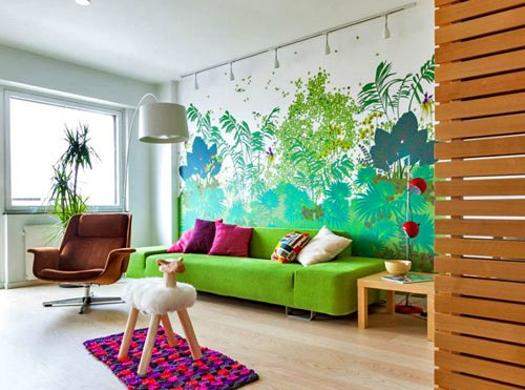
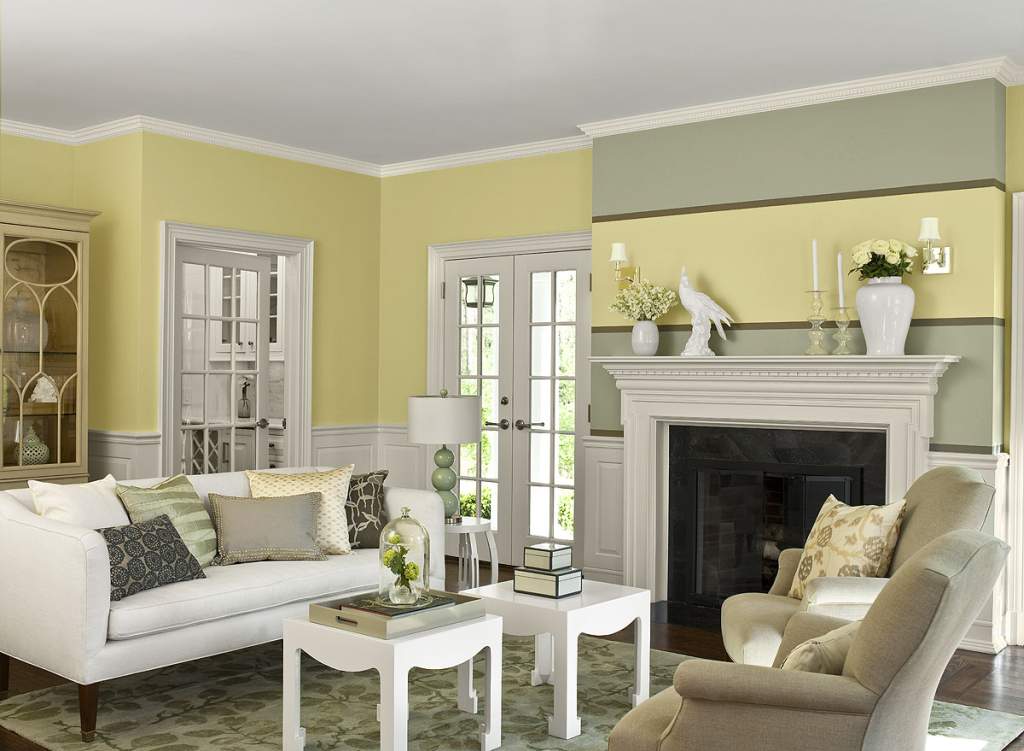
Gallery of inspirational wall painting as conclusion
You may also like:
- 17 Cool bedroom designs for men
- A Perfect Idea For Kitchen – The Star Galaxy Granite…
- 33 Incredible Ideas Of Hobbit House Design In Real Life
- 27 Amazing Ideas Of Modern Storage Closet For You Home
- 25 modern bedrooms with influential minimalist
- 25 Bedroom Interior Design Ideas – Seating For Comfortable Sitting
- 15 Awesome Semi-Inground Pools As Great Outdoor Concept
- Some Words About Impressive Venetian Architecture
- 30 Great Inground Swimming Pools With Waterfall And Natural Stone…
- Amazing Designer Bedroom Furniture With A French Flair For Your…
- 17 Amazing Bedroom Ideas For Create A Vibrant And Relaxing…
- How to choose the right bed frame and mattress
- 27 Useful Ideas How To Make More Space For A…
- 20 Contemporary Bedroom Furniture Ideas That Make Your Dream Sweet
- 17 Beautiful Luxury Interior Designs For Living Rooms
- 19 Bedroom Design For Small Spaces With Smart Functional Ideas
- 18 Great Luxury Living Room Decor Ideas That Inspire You…
- 18 Excellent Luxury Living Room Designs With Different Styles
- Japanese soaking tubs for small bathrooms as interesting idea for…
- 5 Kitchen Curtains Ideas With Different Styles
- 25 Really Stylish And Extravagant English Bedroom Interior Ideas
- Add a touch of nature to your bedroom
- 19 Prehung Interior French Doors With Frosted Glass As Great…
- 17 Perfect And Luxury Living Room Interiors
- 17 Incredible Luxury Bathrooms For Your Home
- Full Review Of Keylite Flat Roof Windows And Solar Blinds…
- 26 Amazing Ideas For Stunning Girls Room
- 5 Must Know Steps To Paint Dining Room Furniture Right
- 21 Bedroom Paint Ideas With Different Colors
- Bedroom Paint Color Choices Minimalist 2015
Table of Contents